Inkscape is a free but powerful vector graphics editor, and for the best performance, you’ll want a pen tablet that can handle its requirements smoothly.
It is very hard to create or design with a mouse and a keyboard. But drawing tablets allow you to create freehand digital art the same way you would with a pencil and paper.
If you are a designer or illustrator looking for the best drawing pen tablet for Inkscape, you may be confused as there are so many different brands, models, and types on the market.
Which one is the best suits your needs or budget? What do these drawing tablet features mean? That’s why we’ve made this article, to ensure you get the best option for you.
In this post, we’ll go into the realm of tablets and take into account a variety of variables, such as display vs non-screen, pressure sensitivity, performance, software compatibility, and brand, to assist you.
What is Inkscape?
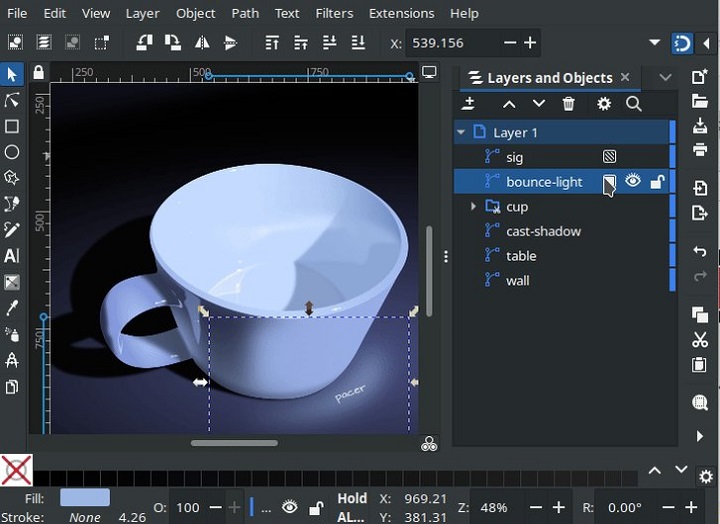
Inkscape is a great free and open source program for creating vectors (scalable graphics that won’t blur when you resize them).
It offers a stable, transparent, consistent and easy-to-customize user interface, along with a wide variety of vector editing and designing tools.
Your basic toolset includes creating straight lines, freehand lines, shapes, 3D boxes, Bezier curves, spirals, text editing, and so much more.
You can add layers, color fills, and even effects to your drawing such as blurs, bevels, shadows, textures, glows, and so on.
Additionally, it includes an extension-based approach that makes it simple to add new features, and there are several incredible ones available.
The many effects and advanced, industry-grade options available in Inkscape are numerous. such as alpha blending, cloned objects and markers. It comes with multiple gradients and helps you create complex combinations too.
The items you create in Inkscape are in the SVG file format, but you can also export in PNG, OpenDocument Drawing, DXF, sk1, PDF, EPS, and PostScript.
Because Inkscape is compatible with several formats, and you can transform your designs with 3D effects, filters, pixelation, blurring and more.
You can use it to create a business card, logos, online graphics, user interface, poster, paper scrapbooking, flyer, or just to practice your skills.
Is Inkscape as good as Adobe Illustrator?
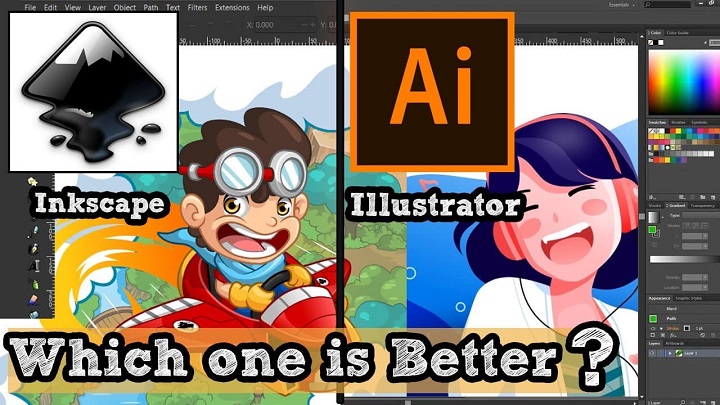
Inkscape offers a completely free way to create vector images, while Adobe Illustrator is really expensive with Subscription model.
Although not quite as feature-rich as Illustrator cc, lacks polished look, Inkscape is still exceptionally full-featured and considered as a popular alternative application to Illustrator.
The main disadvantage of Inkscape is that it does not support CMYK colours for print, It’s RGB only. However you can export a design as a PDF from Inkscape, and then manually change the colors to CMYK using other free programs like Scribus.
Plus, since the software is open-source, it has a thriving user community. Along with that large community, comes many helpful Inkscape tutorials.
The designers familiar with Adobe illustrator can efficiently operate this tool. Once you get past the steep learning curve and outdated interface, you’ll master this excellent software to creat stunning artwork.
Why get a Drawing Tablet for Inkscape?
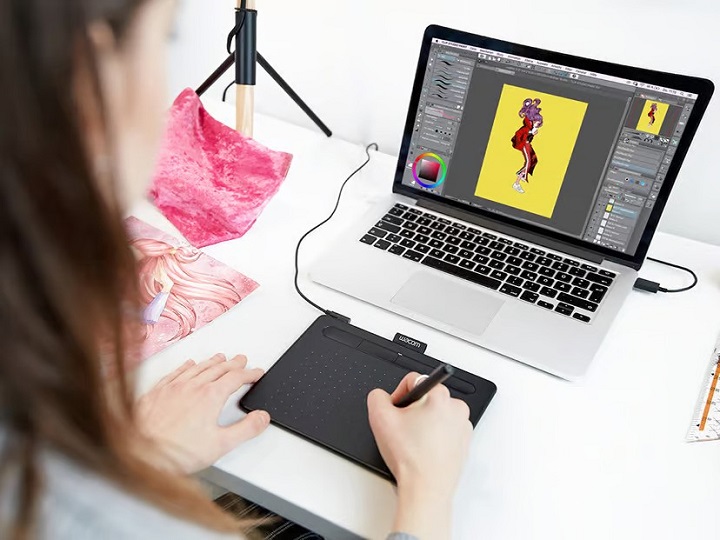
A drawing pad with pen is essentially replaces a mouse while you are working with graphic design application like Inkscape.
Mouse might be faster initially but the pen tablet has some innate advantages, which once mastered can speed up your workflow very much.
A digital stylus mimics the feel of a traditional pen or a brush. You have more control in moving vectors, nodes and vertices in graphics. The whole process feels faster, smoother, more accurate, natural and intuitive.
Digital pens support both pressure sensitivity and tilt recognition when drawing. This means the on-screen brush will respond to whether you press or tilt the pen and adjust the brush accordingly. This gives a natural and accurate feel when painting.
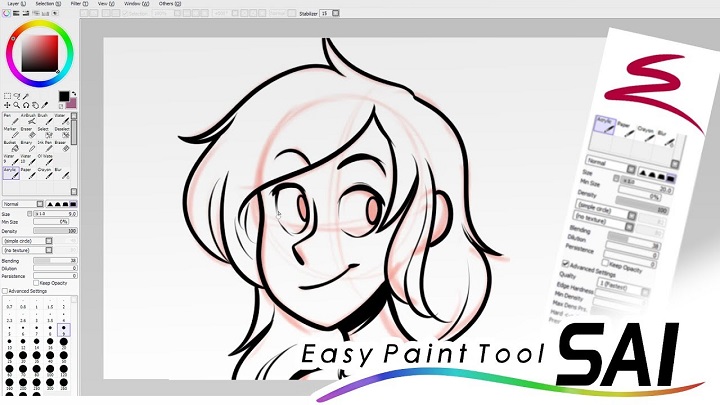
Certain tools like the Freehand Lines tool or the Calligraphic and Brush Strokes tool in Inksape become easier to use if you have a tablet. Also, the very common task of tracing a drawing to convert it into digital is easier.
A tablet can also save you time and effort, as you can switch between different tools or menus with the hotkeys, This seems like the better choice for efficiency.
Getting from one corner of the screen to the oposite one with precision is way faster than with a trackpad / mouse and it’s always in one wrist move.
Not only will drawing with a mouse produce worse results, it is also very hard on your wrists. In contrast, a tablet can reduce the risk of strain or injury on your wrist, hand, and arm, as you can adopt a more ergonomic posture and movement.
How to choose the best drawing tablet for Inkscape?
While every tablet may have comparable benefits, not all tablets are created equal—so which tablet is best for drawing & designing in Inkscape?
You need to focus on several key features and functionalities before buying, such as tablet type, tablet size, pressure sensitivity, tilt sensitivity, stylus pen, brand, price and more.
1. Types of tablets
There are three different kinds of tablets suitable for creative work: pen tablets, pen displays, and standalone pen tablets.
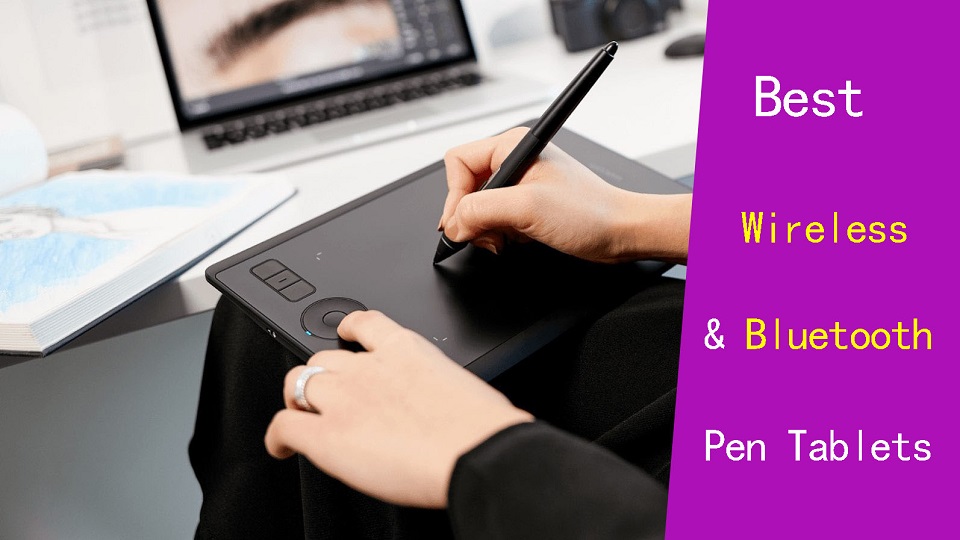
You’ll have the opportunity to choose between a wired and wireless tablet, a screen or non-screen, when you go to purchase one.
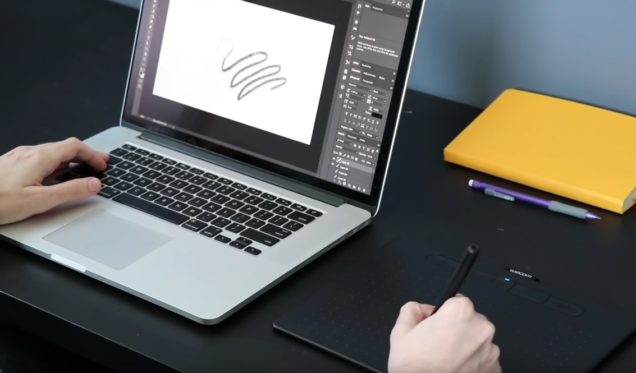
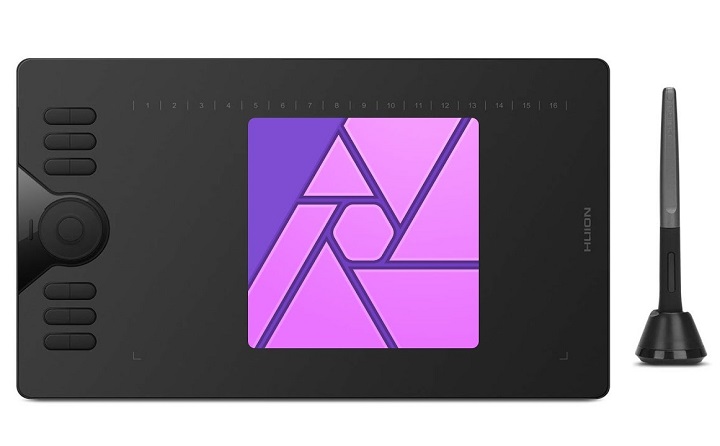
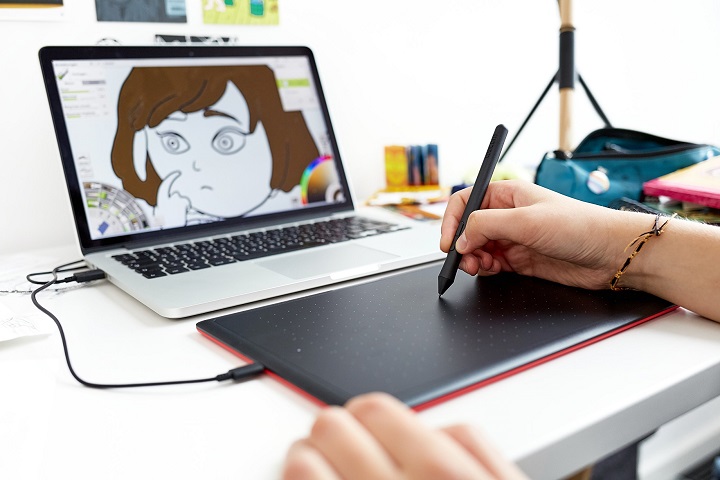
Pen Tablets without Screen
These are the most accessible and basic models, which don’t include a screen, so an additional monitor would be a necessity.
The active area portion of the tablet corresponds with your screen, Drawing on the tablet with your pen registers on your computer screen.
It’s a bit unnatural at first because of Hand-eye separation, but with time, patience and some practice, you will get used to it quickly.
Compared to tablets with screen, these screenless tablets are more affordable, portable, durable and have wireless compatibility.
If you want a screenless drawing pads for beginners, the Wacom Intuos, Huion Inspiroy and XPPen Deco are all good choices.
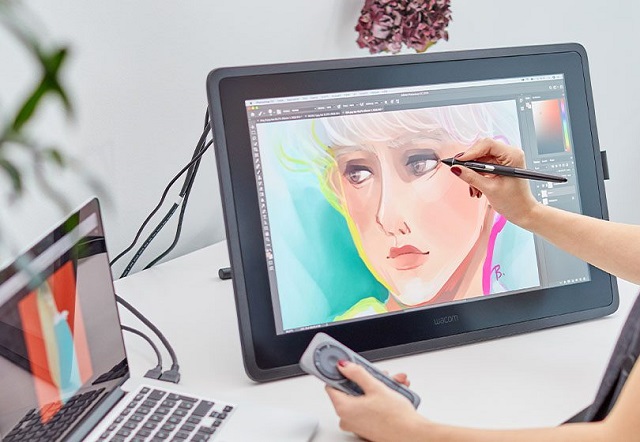
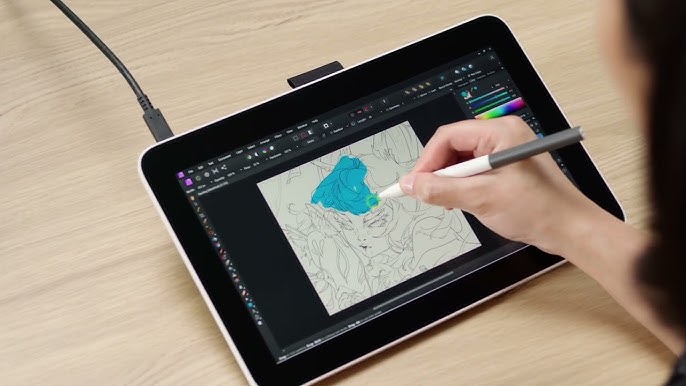
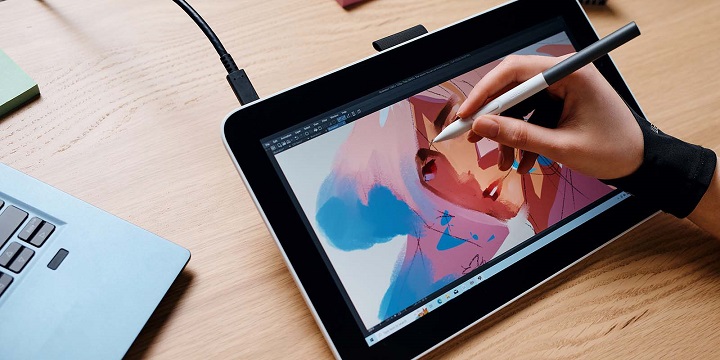
Pen Display Monitors
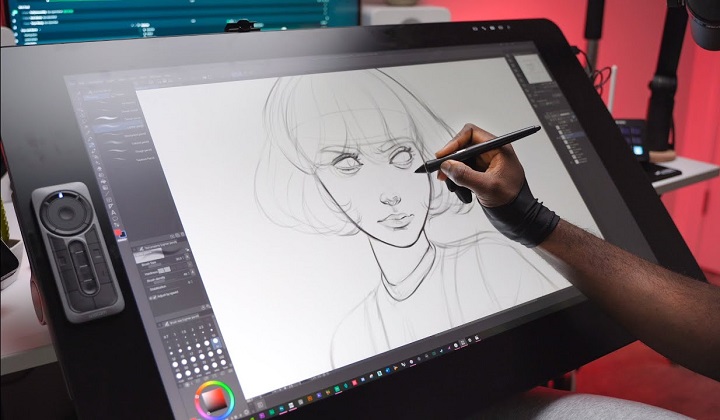
Working with the same technology as pen tablets but with the advantage of a built-in interactive display, pen displays are the favorite option of many professional artists and designers.
Pen display monitors usually come in sizes range from 10-inch to larger 32-inch. You can draw directly on the screen, exactly like draw on paper, or canvas, and it feels more natural and intuitive than non-screen type.
They do more expensive than non-screen tablets, still need a computer or a laptop to work and are not as portable as standalone tablets, however, they will considerably improve your working experience.
Buy a decent tablet with screen, the usual recommendation is the Wacom Cintiq, Huion Kamvas or XPPen Artist.
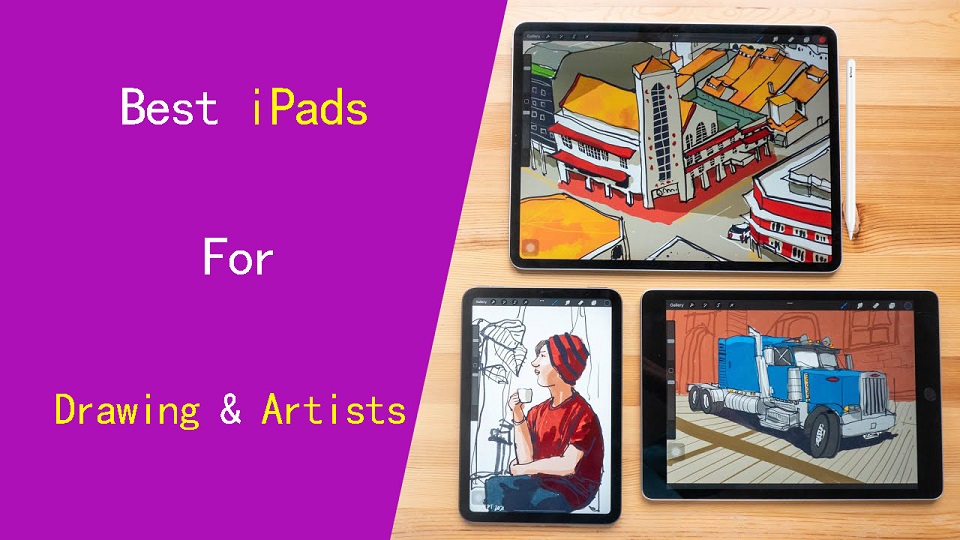
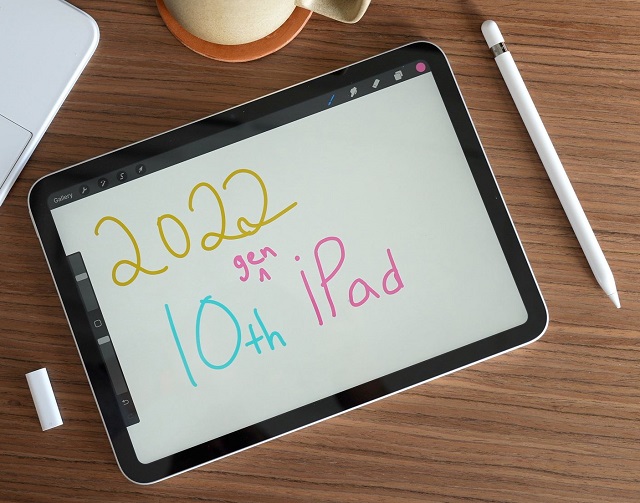
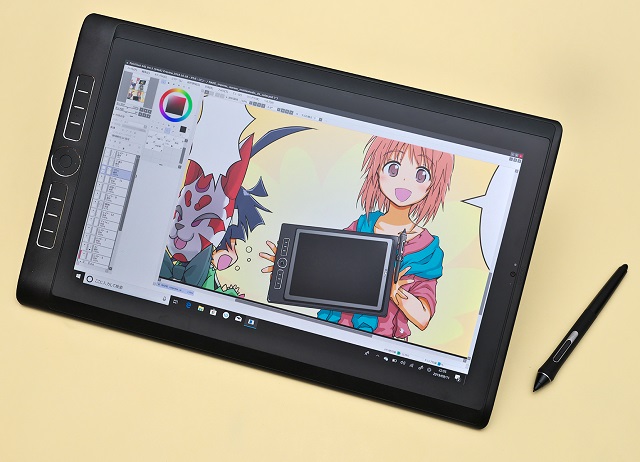
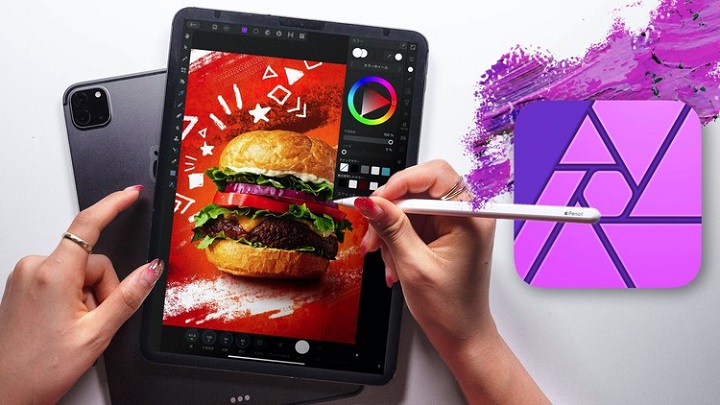
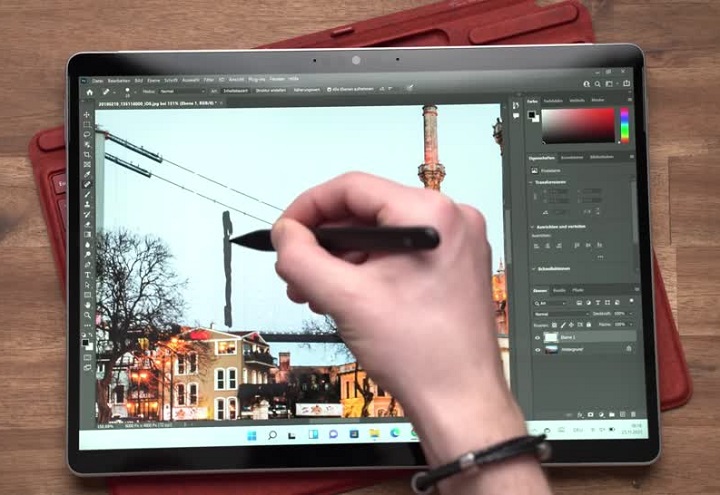
Standalone pen tablets
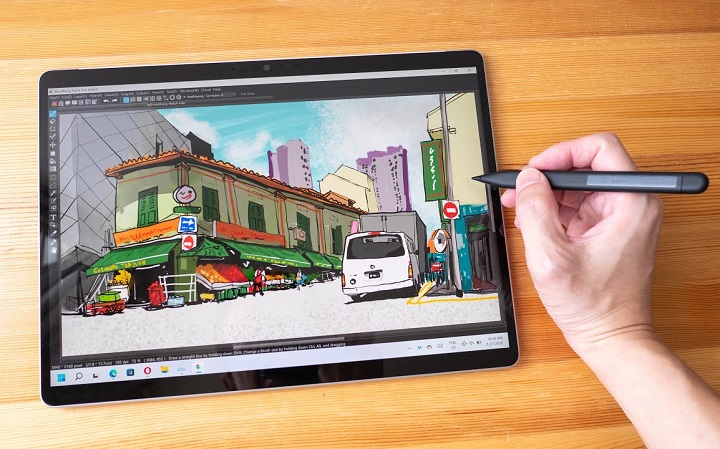
Not everyone wants a tablet as an accessory that connects to their computer.
Some prefer a standalone computer drawing pad, which has powerful internals, screen and os, a decent battery life, doesn’t require a computer to operate, supports pen input.
If portability is your top concern, go for the standalone tablet. It’s the best device to just pick up and draw anytime, anywhere.
Some popular options include the Apple iPad Pro (iPadOS), Samsung Galaxy tab (Android), Microsoft Surface Pro (windows), etc.
These are pretty expensive but a good option if you are earning money from your art.
2. Tablet Size
Graphic tablets come in many different sizes. The active area is the portion of the device that is sensitive to signal from a stylus. Usually, the larger sizes have a larger price tag.
Professionals prefer larger sizes while casual users find the smaller tablets sufficient for their needs.
The size of the tablet you use is largely influenced by your drawing style. People that draw with large gestural lines need a larger tablet and vice versa.
In addition, you also need to consider the size of your computer screen, working space and Portability. Larger tablets may tend to take more of your desk space and less portable.
3. Pressure Sensitivity
Pressure sensitivity means that the thickness of your brush stroke will differ depending on how hard or soft you push down the stylus on the tablet surface while drawing.
Generally, tablets have pressure levels starting from 4,096 all the way to 8,192. A higher level of pressure sensitivity allows for more precision and control when drawing.
Ideally, you’d want to find a tablet with a 8,192 pressure range if you’re buying the tablet for illustration or design work.
4. Tilt Sensitivity
Tilt sensitivity on a drawing tablet refers to the ability of the tablet to detect and respond to the angle at which the stylus is held.
This allows for more natural and varied brush strokes, as the tilt of the stylus can affect the width, opacity, and other characteristics of the digital brush.
5. Express keys
More and more tablets are designed with Programmable buttons built into the tablet, usually on the side.
Instead of manually switching between tabs and apps, or simply selecting brushes in inkscape, these hotkeys will help you save time and streamline your work process.
6. Stylus
Stylus (pen) comes in two forms: battery-operated (AES) and electromagnetic resonance (EMR), but they’re both designed to mimic the feel of pen on paper.
The Apple Pencil, Surface slim pen 2, along with a few third-party styluses, comes with built-in lithium battery, needs to be charged. Usually, the pen is sold separately from the already-expensive tablet.
Wacom, Huion, and XPPen and other professional drawing tablet brands, includes an EMR stylus with your purchase.These pens are battery-free, meaning it doesn’t need to be charged.
7. Software Compatibility
Inkscape runs on all 3 main desktop operating system Linux, MacOS and Windows.
Thankfully, drawing tablet is designed to be used with a Windows or Mac computer, so it works seamless with Inkscape most of the time.
Note, since Inkscape isn’t listed on the Google Play store and Apple app store, it won’t work on any iPads and android based tablets.
So if you want a portable standalone drawing tablet for Inkscape, get a windows OS tablet, like microsft surface pro, Wacom MobileStudio Pro, and Huion Kamvas Studio 16.
8. Brand
Wacom, Huion, and XP-Pen are top 3 popular brands of graphic tablets that are used for drawing, sketching, and digital art.
Wacom is generally considered to be a high-end brand in the world of graphics tablets and they are known for their high-quality drawing experience and build quality, but they tend to be more expensive.
Huion and XP-Pen are considered as budget-friendly alternatives, they provide similar functionality and drawing experience as Wacom but at a lower cost. Many users find that they offer good value for the price.
Other less well-known brands include Ugee, GAOMON, Veikk, Xencelabs, Parblo, which also offer budget-friendly options for beginner artists and hobbyists.
If you want a more portable device for your artwork, then one of the best tablets from the likes of Apple, Microsoft and Samsung is likely to be a better option.
They offering fewer drawing-specific features but greater portability and everyday uses.
How to Use a drawing tablet with Inkscape ?
Here’s a general process for using a graphics tablet in Inkscape:
Set up your graphics tablet: Connect the tablet to your computer using a cable or wirelessly, depending on the tablet model.
Install any necessary drivers or software provided by the tablet manufacturer. you can download from their official site.
Configure tablet settings: graphics tablets come with customization options, such as pressure sensitivity, buttons, or tablet mapping.
You can typically access these settings through the tablet’s software. Configure the settings according to your preferences and the capabilities of your tablet.
Launch Inkscape: Launch Inkscape and create a new document, or open an existing one.
Select a drawing tool: Choose a drawing tool from the toolbar, such as the Pen tool or Pencil tool. You can also use the Brush tool or any other tool that allows you to draw or paint.
With the brush or pen tool selected, you can now start drawing on the canvas using your graphics tablet.
Customize brush settings: Inkscape provides various brush settings that you can customize to achieve different effects. You can adjust the brush size, shape, hardness, opacity, and other parameters using the brush options in the Control panel or the Brush panel.
Practice and explore: As you gain familiarity with your graphics tablet and Inkscape, continue to practice and explore different techniques to refine your digital drawing skills. Experiment with different brushes, textures, and effects to create unique artwork.
Pen Pressure not working in Inkscape ?
If you’re on Windows OS and use a wacom tablet or alike, The troubleshooting solutions mentioned below should work.
Uninstall current wacom tablet driver and Install latest Wacom tablet driver.
Open Wacom settings. In the Mapping section:
Set Mode to “Pen”. Then Select “Use Windows Ink”.
In the Pen section:
Set Tip Feel somewhere medium-to-firm, to prevent maxing out pressure even with a light touch.
Set the function of the pen tip to “Click”.
Open Inkscape, go to Edit > Input devices…
Make sure your Tablet is visible in the list of input devices.
If Tablet is not visible at all, close Inkscape, make sure the tablet is plugged in and functioning in other programs, then re-open Inkscape.
Select “Use pressure-sensitive tablet” and click Save, Restart Inkscape.
Select the Calligraphy tool (key C), From the top tool settings bar, click the icon of a down arrow pointing at a ramp. This enables pressure for this particular calligraphy preset.
Is pen tablet a must for graphic design and Inkscape?
Not every designer needs a graphics tablet, it’s certainly an option, not a requirement. It depends on the type of work you will do in Inkscape and othe design programs.
If you’re interested in learning graphic design and Inkscape, start with mouse and keyboard only. A majority of the functions in Inkscape is done with that only.
The tasks like web design, layout design or UI/UX design, you can do without a pen tablet. It will not make your work flow better/easier if you had one.
If you plan on making illustrations, do lineart/freehand drawing, it will be extremely time taking and difficult to do so without a graphics tablet.
Conclusion
Using a graphics tablet with Inkscape, Gimp and Krita allows you to draw, edit, sketch, and create digital artwork with more precision and control.
In fact, the suitability of drawing tablets depends on the requirements, comfort, and budget of a graphic designer.
If you’re traveling a lot, working on trains, and doing a lot of sketching — a standalone tablet like microsoft surface pro might work great for you.
On the other hand, if you’re primarily based at your desk, plus require pen tilt, and pressure — a tradition pen tablet and pen display might be a better choice.
Anyone who is new to graphic design, illustration, or on budget can make use of the pen tablet without screen.
If you want to step up your comfort level of drawing, a tablet with screen is the go-to choice for you.
Source: https://pctechtest.com/best-drawing-tablet-for-inkscape
(1)